修改树莓派2的包镜像
1、打开配置sources.list文件
sudo nano /etc/apt/sources.list2、用#注释掉原文件内容,用以下内容取代(Ctrl + O 保存再 Ctrl + X 退出):
deb http://mirrors.tuna.tsinghua.edu.cn/raspbian/raspbian/ stretch main contrib non-free rpi
deb-src http://mirrors.tuna.tsinghua.edu.cn/raspbian/raspbian/ stretch main contrib non-free rpi3、打开配置raspi.list文件
sudo nano /etc/apt/sources.list.d/raspi.list4、用#注释掉原文件内容,用以下内容取代(Ctrl + O 保存再 Ctrl + X 退出):
deb http://mirror.tuna.tsinghua.edu.cn/raspberrypi/ stretch main ui
deb-src http://mirror.tuna.tsinghua.edu.cn/raspberrypi/ stretch main ui5、编辑镜像站后,使用命令更新
sudo apt-get update修改树莓派3及以后的包镜像
1、打开配置sources.list文件
sudo nano /etc/apt/sources.list2、修改来源,改为aliyun
deb.debian.org
改为
mirrors.aliyun.com3、编辑镜像站后,使用命令更新
sudo apt-get update4、(可选)升级系统版本
sudo apt-get upgrade
sudo rpi-update正确显示中文
sudo apt install ttf-wqy-zenheisudo raspi-config把光标移到Localisation Options上
翻到最下面的选项,勾上zh_CN,UTF-8
然后选择默认语言,选择zh_CN
设置完成之后,reboot重启就可以看到熟悉的中文了
设置静态无线IP(有点小问题,用到再说)
如果用有线就不用那么麻烦了。
确认是否安装了 dhcpcd:
sudo apt list --installed | grep dhcpcd如果没有安装,可以使用以下命令安装它:
sudo apt install dhcpcd5启用 dhcpcd 服务:
sudo systemctl enable dhcpcd
sudo systemctl start dhcpcd检查是否使用了 NetworkManager:
sudo systemctl status NetworkManager如果 NetworkManager 正在运行,可能它覆盖了 dhcpcd 的设置。你可以通过 nmcli 来设置静态IP,例如:
nmcli con show找到 wlan0 的连接名称,然后设置静态IP(假设连接名称是 MyWifiConnection):
sudo nmcli con mod preconfigured ipv4.addresses 192.168.124.21/24
sudo nmcli con mod preconfigured ipv4.gateway 192.168.124.1
sudo nmcli con mod preconfigured ipv4.method manual
sudo nmcli con up preconfigured通过ifconfig查看网卡:
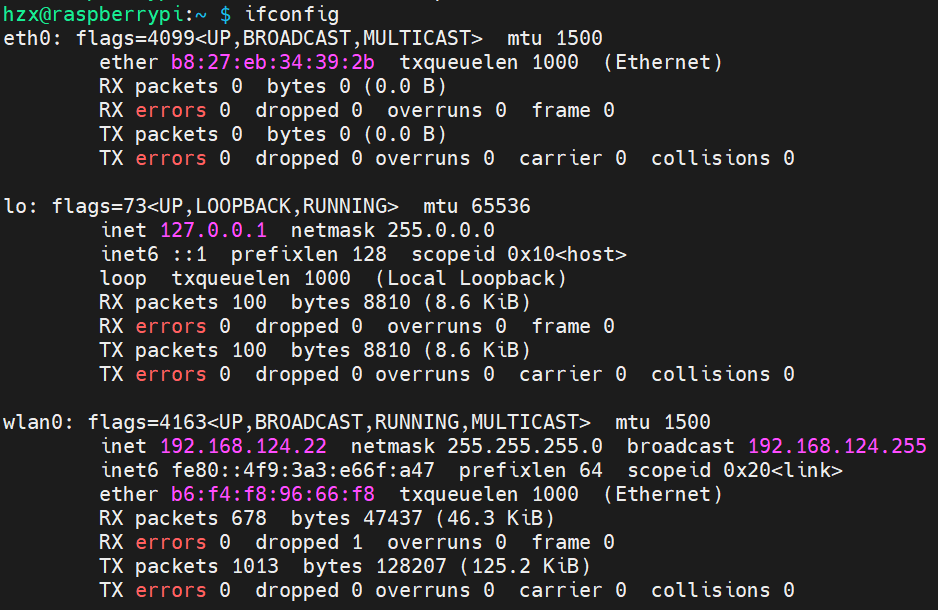
编辑文件:
sudo vi /etc/dhcpcd.conf添加配置项:
#无线
interface wlan0
inform 192.168.124.22
static routers=192.168.124.1

interface wlan0
static ip_address=192.168.124.22/24
static routers=192.168.124.1
static domain_name_servers=8.8.8.8 8.8.4.4#有线
interface eth0
inform 192.168.124.22
static routers=192.168.124.1退出保存然后重启树莓派:
sudo reboot树莓派安全关机
shutdo使用pi.sh脚本
chmod +x pi.sh./pi.sh proxy安装1Panel
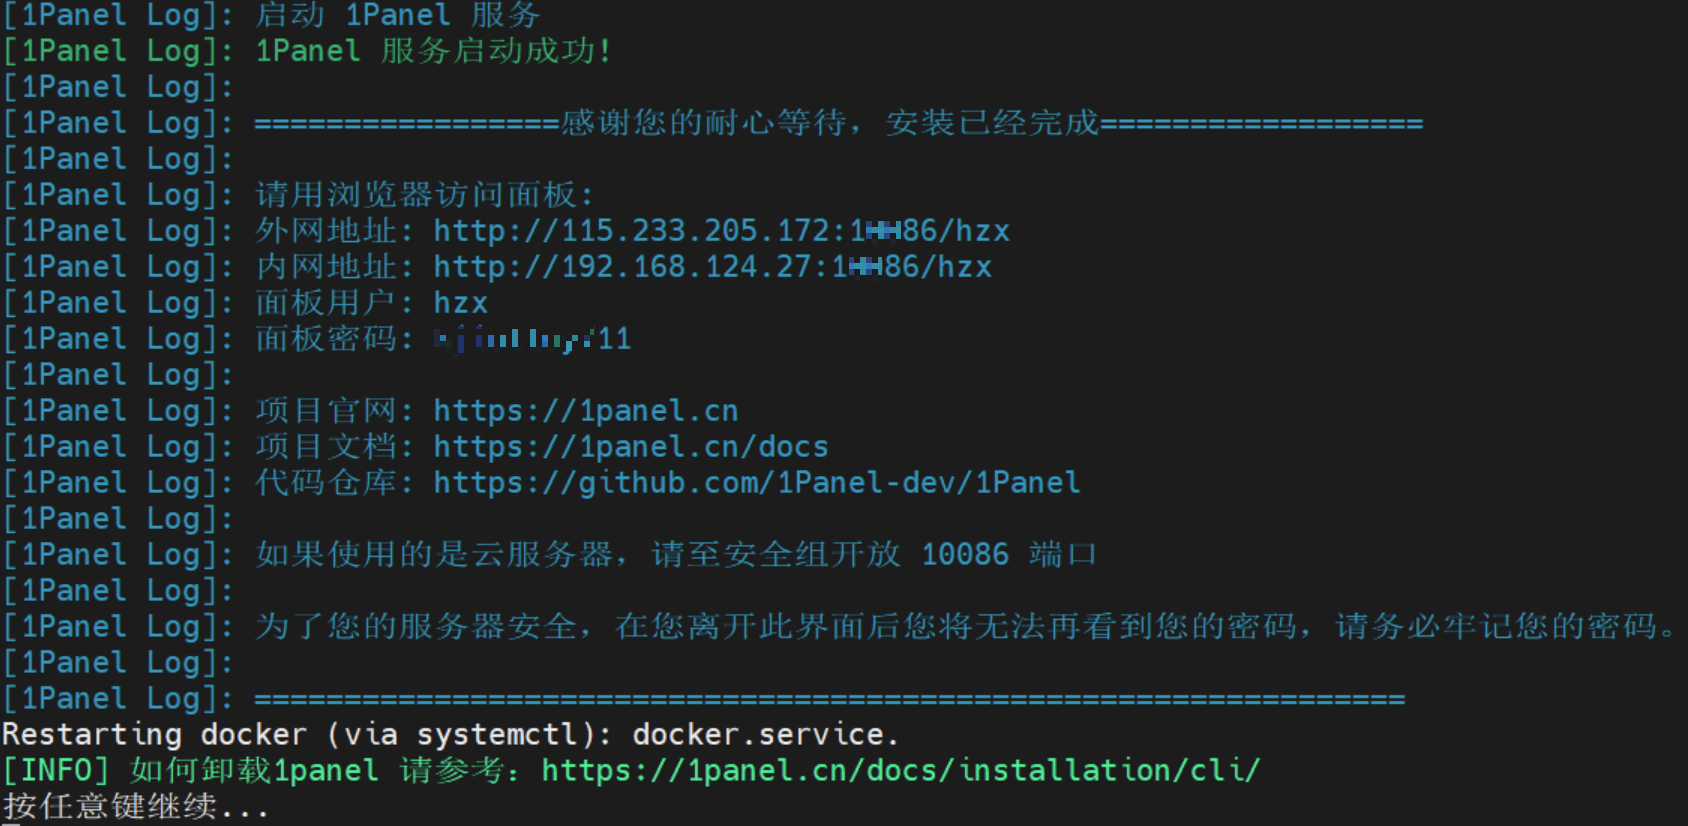
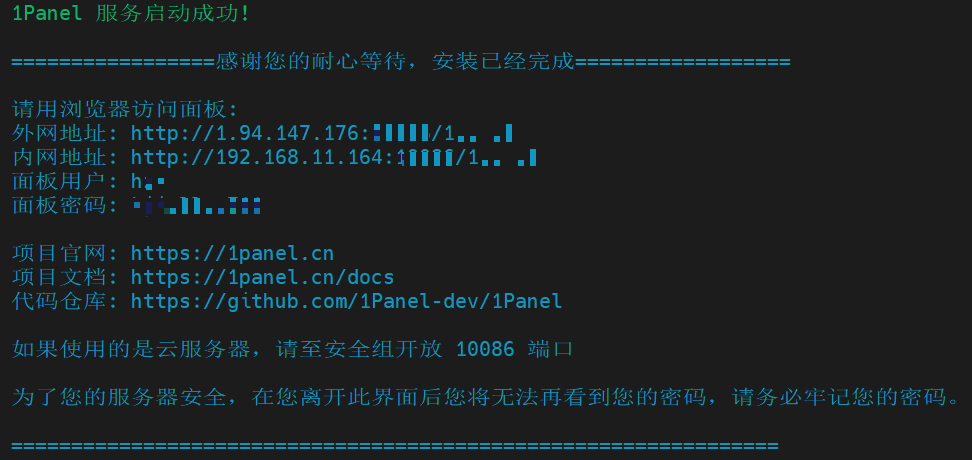
脚本安装1panel
curl -sSL https://resource.fit2cloud.com/1panel/package/quick_start.sh -o quick_start.sh && sh quick_start.sh配置docker加速
在容器-> 配置中设置,否则安装软件会失败。
https://docker.211678.top
https://docker.1panel.live
https://hub.rat.dev
https://docker.m.daocloud.io
https://do.nark.eu.org
https://dockerpull.com
https://dockerproxy.cn
https://docker.awsl9527.cn
安装Alist、小雅、小雅清理工具
安装Alist
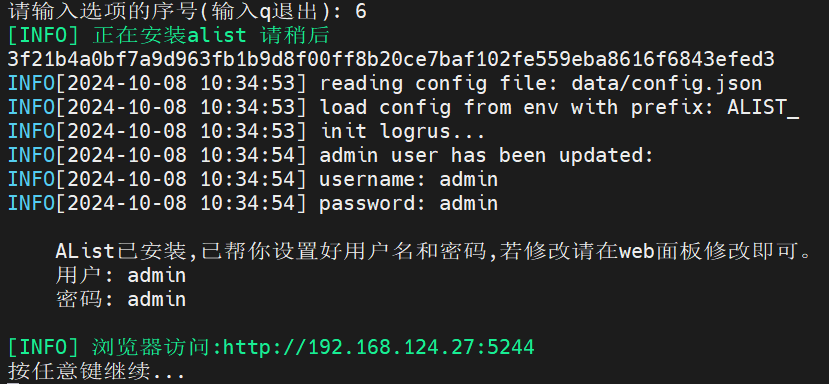
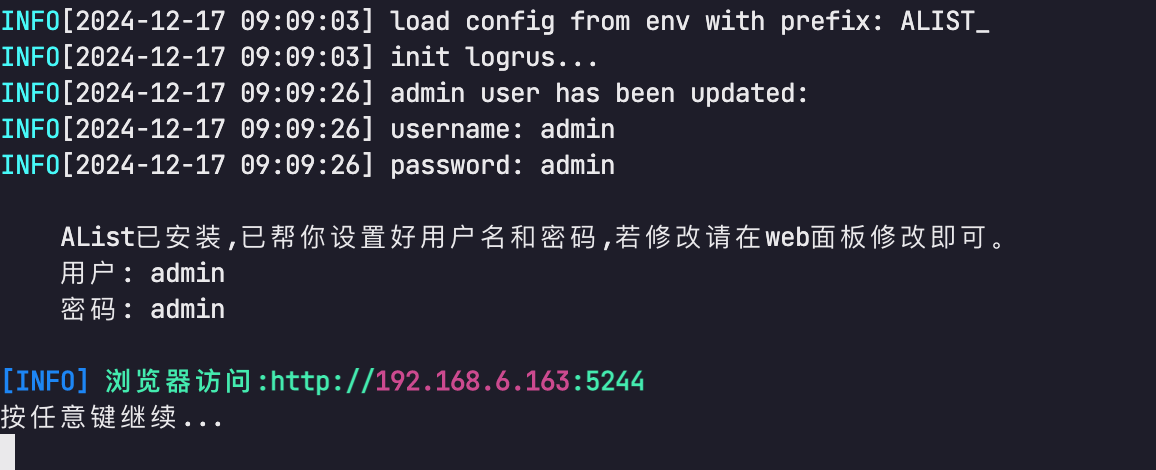
安装小雅、小雅清理助手
根据如下三个网址的提示完成token的填写 阿里云盘Token(32位):https://alist.nn.ci/zh/guide/drivers/aliyundrive.html
阿里云盘OpenToken(335位):https://alist.nn.ci/tool/aliyundrive/request.html
阿里云盘转存目录folderid:https://www.aliyundrive.com/s/rP9gP3h9asE
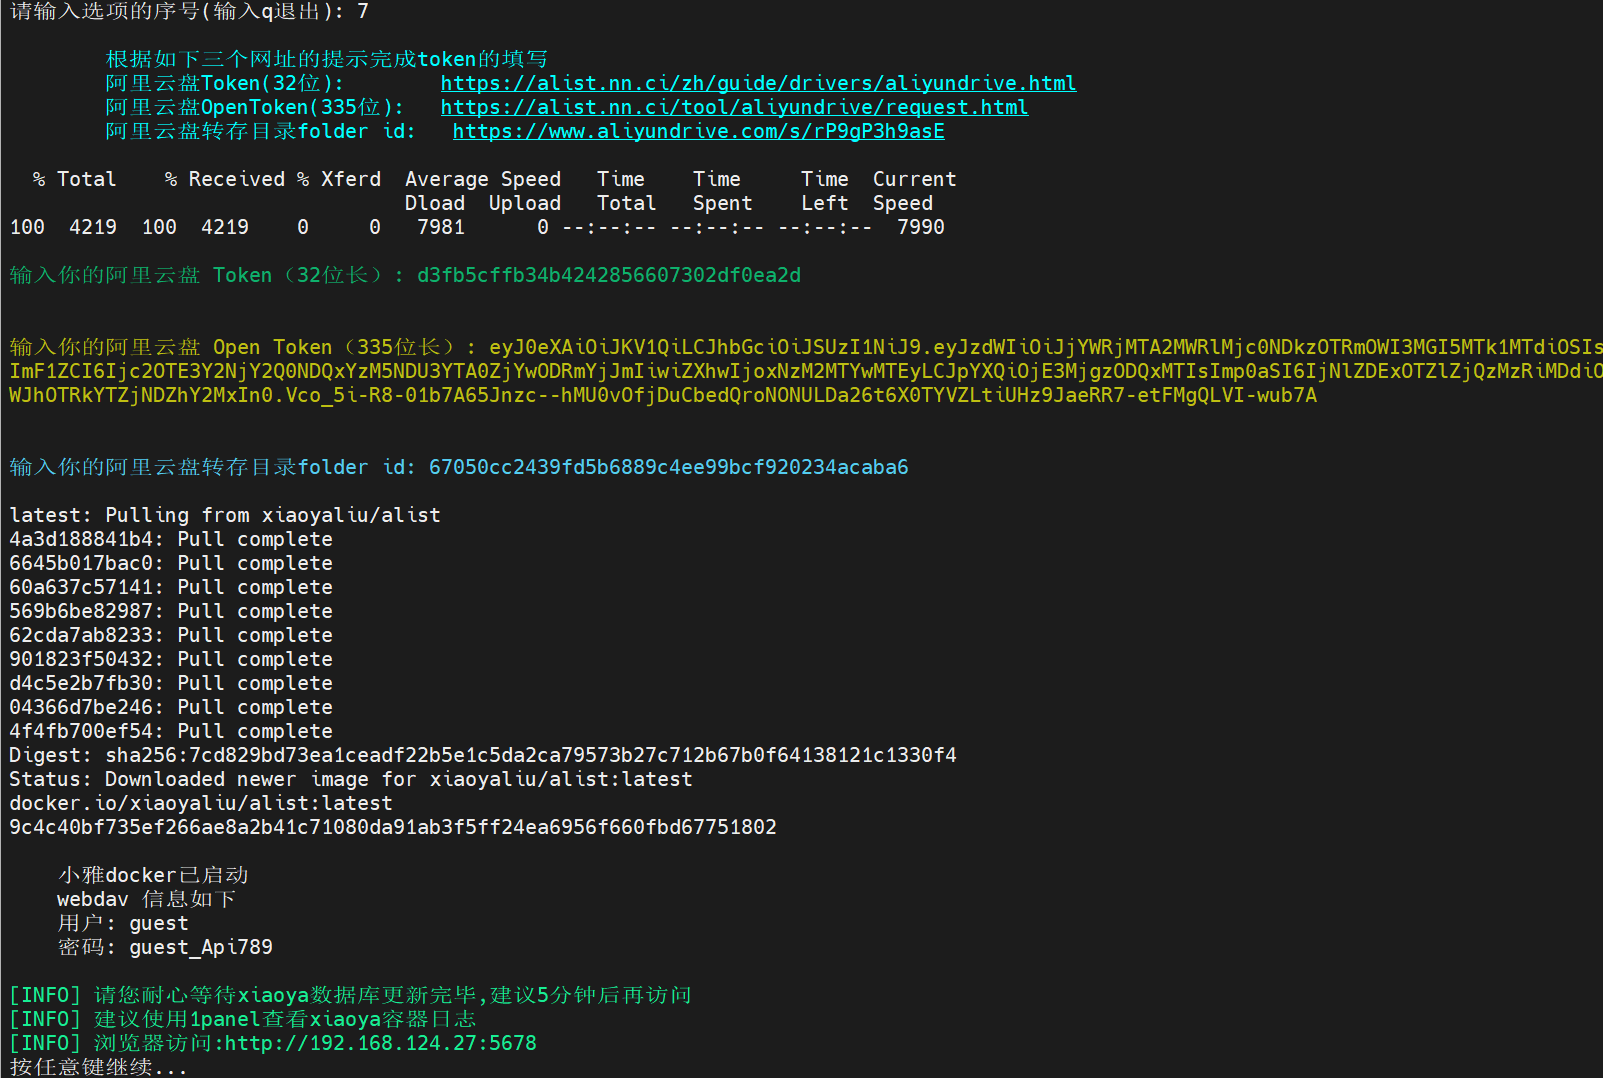
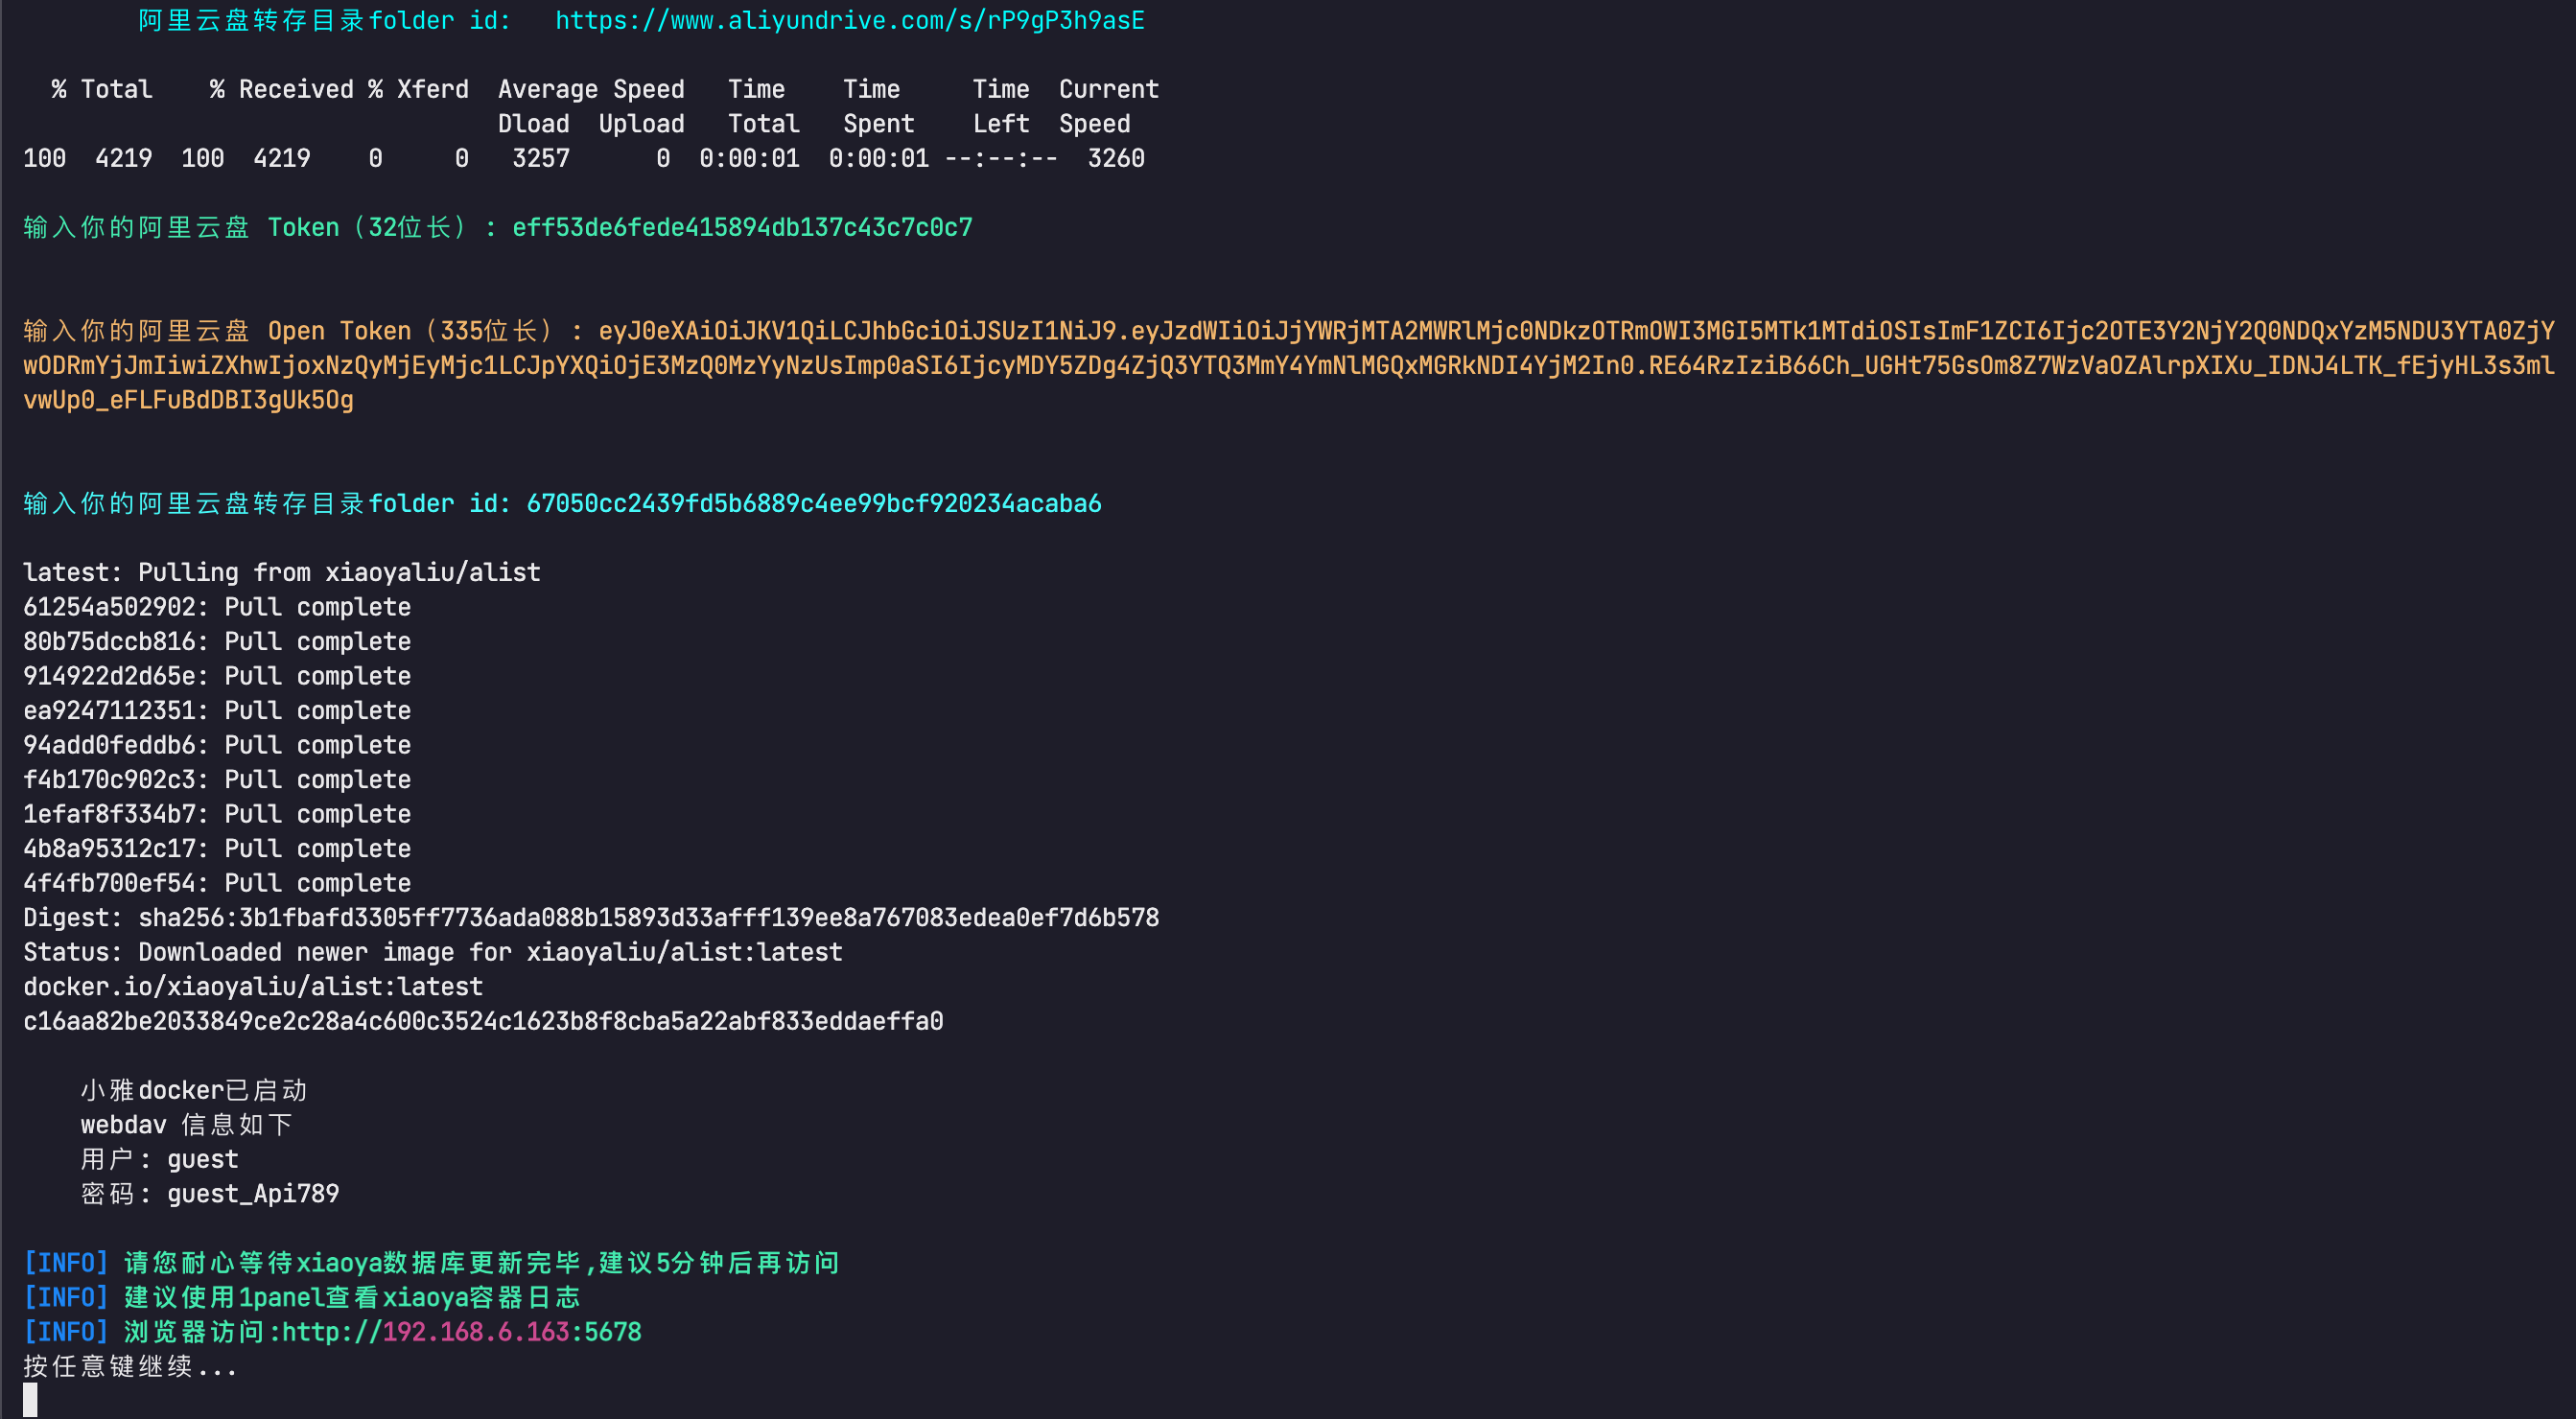
安装cpolar
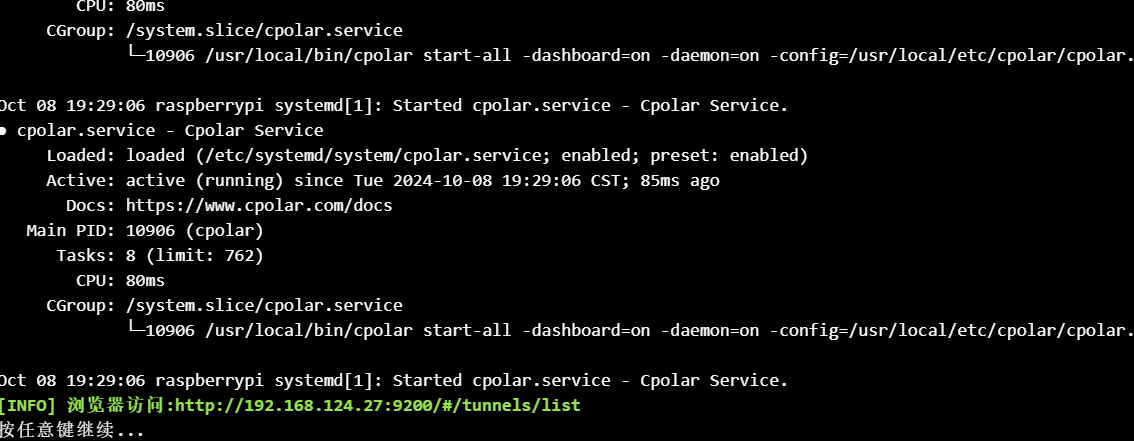
成功,但有效期只有24小时,够用了
